So I decided to go one last time with Brits and Germans in Normandy '44, for one last playtest with the skirmish (i.e., individually activating) rules, as well as to put an end to the sort of linked scenarios. Last fight the Brits got a toe-hold in the village, and the Plt Sgt decided to take a token force forward into the village to see what was there. A token force of Germans was left behind as a delaying force to cover the withdrawal of the remainder of their forces. So, here are the forces:


The Brits decided to go a little unconventional, putting the Bren team, the Plt Sgt, and the 2" mortar in the house. Then the BG (minus the Bren team but plus the PIAT team) started on the right, and the RG on the left. The Germans started on blinds, except the PzJgr, which started on the road on the German baseline.
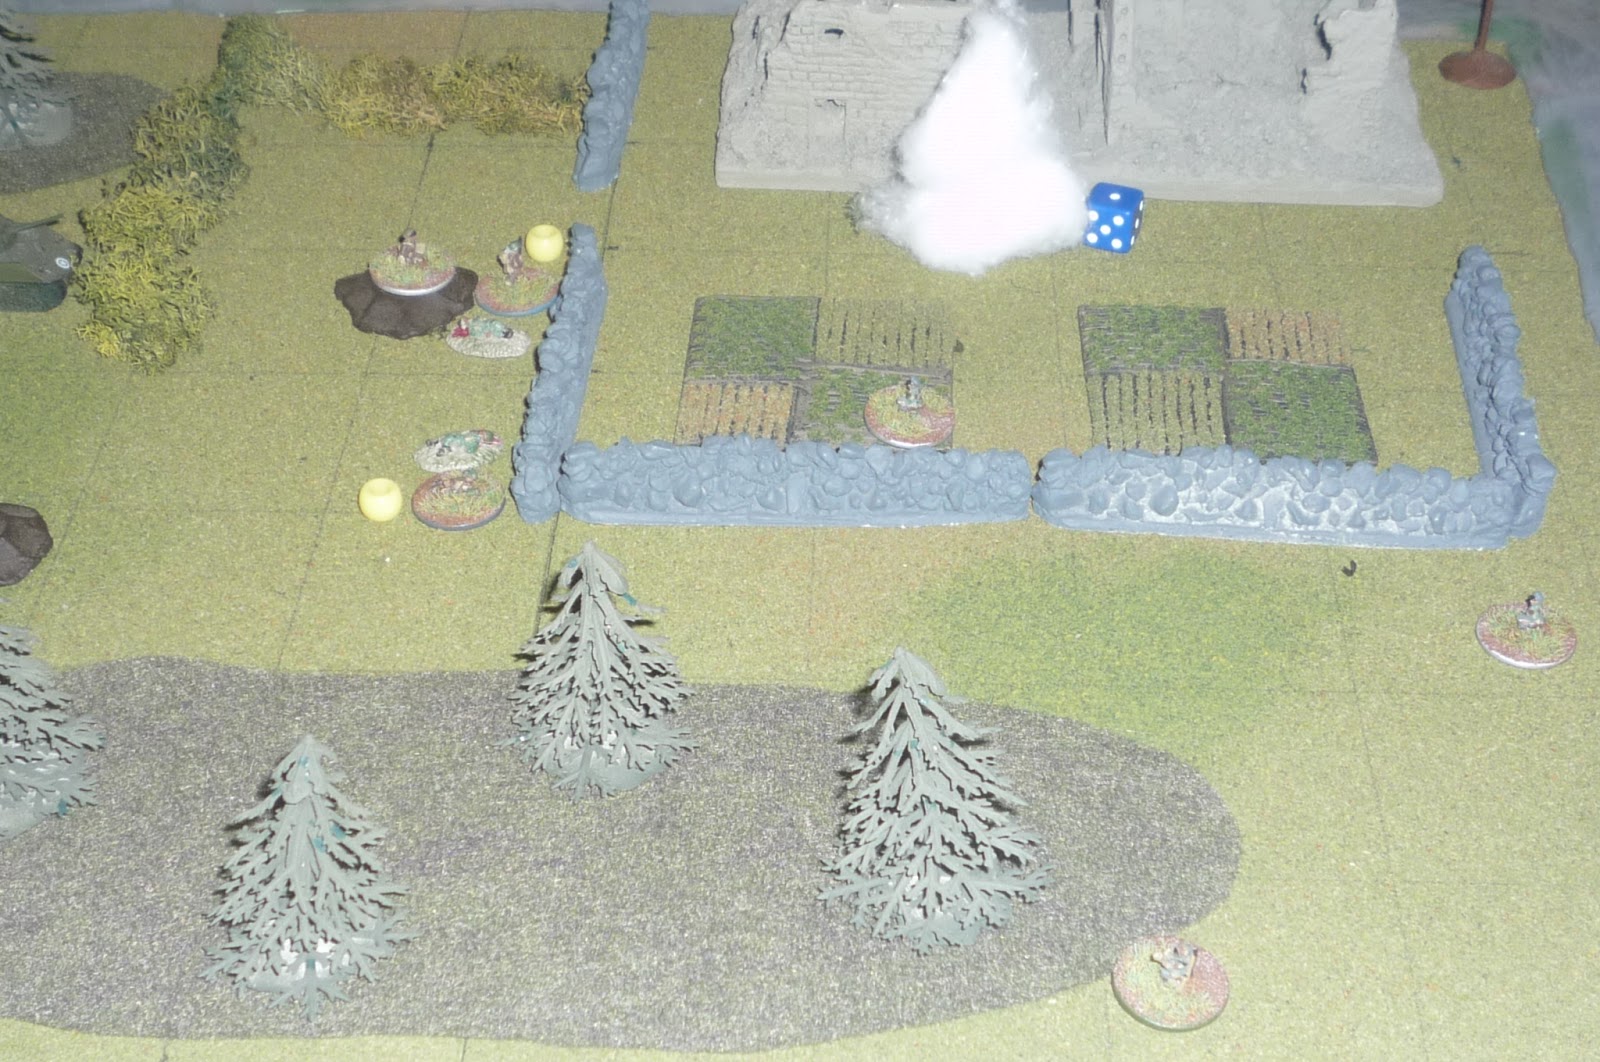
Turn 1: The BG moved up on the right, spotting the German FG in the house to its left front. The FG NCO and rifle fired at the BG, pinning the PIAT gunner. The BG returned fire, to no effect. All the commotion exposed a dummy blind and the German AG, in a house further to its front (with all German forces on the table I removed the other two dummy blinds). The AG fired, pinning both members of the Bren team in the house at the British baseline. The Sherman moved up and busted the house the AG was in, pinning the MP-40 and NCO. The 2" tried to drop an HE round on the FG, but it dropped long, harmlessly. The RG sprinted up the left side behind a wall, while the PzJgr moved up a little.


Turn 2: The German AG NCO unpins, fires at the pinned PIAT gunner, and kills him (the assistant takes over the PIAT). The M4 puts another round in the AG house, killing the MP-40 and two rifles. The Bren A-gunner is unable to unpin himself, but the Bren gunner does and looses a burst at the AG NCO, to no effect, while the mortar drops smoke on the German FG, causing the MG-42 team to dash forward to get a better view of things. Once there they get the gun in action, killing one of the BG riflemen and pinning one. The FG riflemen falls back to his left, loosing a shot at the BG, but missing. the BG NCO ducks into a shell crater and sprays SMG fire at the German MG-42 team, hitting nothing, while the FG NCO darts left into the field, wildly spraying his MP-40 at the BG, but hitting nothing. Three of the RG move right into the house opposite the German MG-42 team, though their NCO and one of the rifles fail their command rolls. The PzJgr blasts the building recently occupied by the RG, pinning a rifleman.


Turn 3: Right off the bat the Sherman fails, but the Bren A-gunner unpins, and the Bren team pins the MG-42 gunner. The BG NCO got in on the act, but wasn't able to hit anything. The FG rifleman/PzFaust sprints out from behind the wall at center into the treeline on the Brit right, starting to cause a little concern for the Brit M4's safety. The FG NCO in the middle of the field moves up to get a better shot and pins the PIAT. The mortar tries to drop smoke in front of the PzJgr to screen the RG, but it misses right, and the PzJgr fires at the RG bldg again, but somehow hits nothing! While the AG NCO sprints left towards the treeline (to meet up with the FG rifle/PzFaust), the RG Sten opens up and kills the MG-42 gunner, though the A-gunner takes over the gun. The Plt Sgt, seeing the AG NCO in the open, takes a shot at long range, but hits nothing.


Turn 4: The first card was German, and their first move was to get the AG NCO out of the open, so he went left into the treeline and fired at the PIAT, missing. The Bren team fired at the FG NCO standing tall in the middle of the field, pinning him (ridiculous! One hit on six dice, needing a 4+). The PIAT still couldn't unpin, while the BG NCO took a shot at the MG-42 gunner, to no effect. He promptly returned fire, pinning the NCO and killing the rifleman next to him. The mortarman dropped a round in upside down, but the M4 pinned the MG-42 gunner, though the German AG rifleman shot and killed an RG rifleman. The FG rifleman/PzFaust moved further up into the treeline, stalking the M4, while the FG NCO unpinned himself (in the middle of a field) and sprayed the PIAT, but missed him again (the PIAT hasn't been able to activate the whole game, minus the first turn in which he moved up to the wall, where he's been pinned ever since, but no one can kill him!). The Plt Sgt, feeling a bit threatened on his right flank, decides to descend from the bldg and moves into the treeline housing the FG rifle and AG NCO, though he's in command proximity to the PIAT now and so maybe that will help him. the RG NCO and Sten both fired at the pinned MG-42 gunner, missing, while the rest of the unit failed their command rolls... The PzJgr decided to fall back and start moving to the German left.


Turn 5: The turn starts with the RG Sten moving up into the street (in order to make better use of his SMG), but missing the MG-42 gunner, who can't unpin and is finished off when the RG NCO moves into the street next to the Sten gunner. But then the Bren team failed (a much higher probability with the Plt Sgt cavorting about in the treeline instead of up in the bldg with them). The PIAT fails but the BG NCO unpins and pins the German FG NCO (in the field). The M4 goes back to pumping rounds into the old AG house, pinning the rifleman there, though he unpins and sprints forward, while on the right the AG NCO moves up and takes a shot at the PIAT, missing AGAIN. The Plt Sgt takes a shot at him, but misses as well. Then the 2" mortar activates and drops an HE round right on top of the FG NCO, killing him. In the treeline the FG rifle/PzFaust takes a shot at the Plt Sgt, missing, and the PzJgr moves up.


Turn 6: The AG NCO and FG rifle/PzFaust both end up firing at the Plt Sgt, but only manage a pin, before the Bren team activates and empties a full, 30-round magazine into the AG NCO, killing him. As per usual, the PIAT fails... On the left, the Sten gunner charges into the house in a one-on-one, dead even situation (you should really try to pin the bad guy before moving into close combat), and subdues the AG rifleman! This clears the way for the rest of the RG, except the NCO, who fails and stays in the middle of the street. Then the mortar and the BG NCO failed, while the PzJgr moved up and pinned the Bren team. Lastly, I'm feeling bold, so the M4 moves right and fires at the PzJgr, scoring not one damned hit on 6 dice! End of turn...


Turn 7: Which is what happened, but here's the whole story. First card out: Brit; as I'm scared of the M4 failing its command roll, and I'm pretty sure another Brit card will come out next, I try to unpin the Plt Sgt so his command bonus (+2) will assist the M4 with his command roll on the next card, but the Plt Sgt fails. Next card: Brit. I figure it's now or never, so I roll up for the M4 to shoot the PzJgr and, FAIL! Another Brit card: I try to activate the 2" mortar to drop smoke in front of the PzJgt (to screen the Sherman), but he fails. Finally, a German card. The PzJgr pops the Sherman likes it's cool, but only knocks out the main gun. A Brit card; I look at the PIAT, and he winks at me, so I roll him up, PASS! He hit that PzJgr so hard it knocked the turret off that damn thing, and it doesn't even have a turret! The German rifle/PzFaust in the treeline, now the only German on the table, packed it in.


Thanks for taking a look. I've got to figure out what's next; so many things I want to do, so little time.
V/R,
Jack


No comments:
Post a Comment