I don't have time to play, but I spent all yesterday evening studying the rules, and this morning I got everything prepped, set up the table, picked out forces, and then I took a leap and played out the patrol phase.


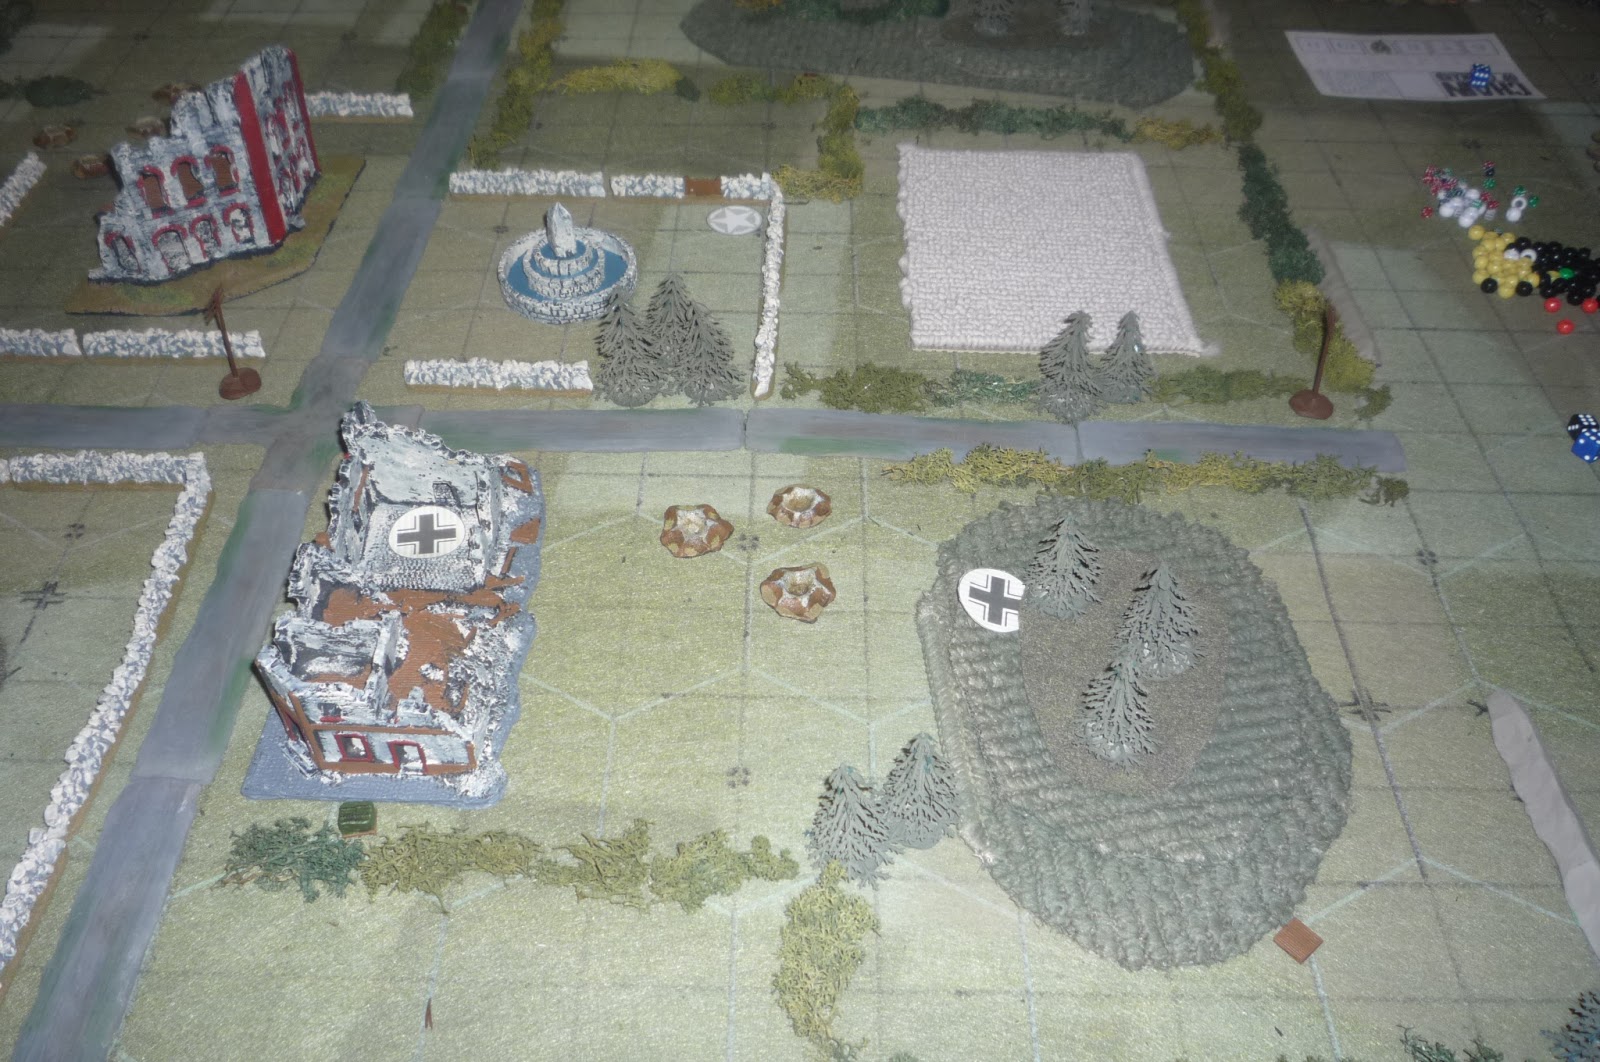
So, the table is set. I picked forces, keeping it very simple, vanilla, and about as equal as you can get it. I took a German infantry platoon (Senior Leader, two-man PzSchreck team, and three squads of a Junior Leader, two-man LMG team, and seven rifles each) against a Brit infantry platoon (two Senior Leaders, a two-man 2" mortar team, and three sections of a Junior Leader, a two-man Bren team, and seven rifles each). Actually, I did make a slight change up from the book in that I gave each squad/section another SMG; I just had to get some of my MP-40s and Stens on the table. I want to keep this simple so I didn't take any kind of support for either side, I want to get down the mechanics before I start adding in the various unit types (I'm a simple man).
The I rolled up morale. Again, I wanted to keep this simple and even, so I only rolled 1D6 and used it for both sides. I rolled a '4,' giving both sides a starting Force Morale of '9.'
Then it was time for the patrol phase, which I've been looking forward to (and I wasn't let down, this is cool). Again, this is my first time, so I'm sure I approached it too simplistically, and I can't wait to get a few more Patrol Phases under my belt and actually figure out how to take advantage of it by exploiting a flank or pinning the other guy in a bad spot. As it was, I did do that, but it was rather accidental. I laid out four patrol markers for each side on their baseline and rolled a D6 for both sides to see who would start (as they both had the same Force Morale), and the Germans won.
So I took one of the markers in the center and moved it towards the buildings at crossroads, then I did the same for the Brits. I jumped back and forth on opposite sides of the table, moving one up at a time. I'm even pretty confident that I didn't screw it up (in terms of doing it correctly regarding the rules). Now, I ended up in a weird spot in that the Germans were advancing all four on an even front, while the Brits ended up on an even front except one marker was still on its baseline! Then the opposing markers on the Brit far right locked each other down, and I panicked for a moment because 1) I still had a Brit marker on the baseline, and 2) the German far right marker seemed in a position to either push straight ahead deep into the Brit left or swing all the way around to the Brit right, going deep on that side (the only requirement is to stay within 12" of your own and beyond 12" from the bad guys, if I'm doing this right).
Then I realized, he couldn't go deep on the Brit right because I'd be able to march over there and stop him, so I took the German far right straight ahead as far as possible (there were a couple moves in between in which the center got locked up for both sides), getting locked. Since this was the final 'free' marker for the Germans, this one advancing and getting itself locked was actually pretty shrewd in that it got the Germans as much ground as possible and locked the Brit far left marker on its own baseline.


One final note: even though I'm using 10mm, I stuck with inches for measurement, and I'm playing on a 4' x 4' table. We'll see how it works. It seems to me everything looks good aesthetically, but I do think the 4" looks a bit far for close combat with the 10mm.
Well, I've got to run and have some fun with the family, and probably won't be able to get to this tonight, but tomorrow morning for sure. I can't wait.
V/R,
Jack


No comments:
Post a Comment