All,
Last year (maybe two years ago?) I played a few games of a campaign I was calling "The Last Fifty Yards," using Ivan Sorensen's rules, "Five Men in Normandy." I was having a pretty a good time, but I wasn't all that happy with two things: 1) I love 10mm for company and battalion sized actions, but not as much for skirmish; and 2) I kinda pitched it too high. That is, I wanted to play a series of skirmish games, but following a whole rifle company. A bit too ambitious it would seem. So, despite the fact I seem to have a hundred different projects going simultaneously, I wanted to get this thing restarted. On the one hand, I'm playing "Rock and a Hard Place," i.e., Sgt Rock, which is intentionally very comic-bookish, so for the other hand I wanted something also in WII, but a bit more true to life. So now I'm looking at following a single, generic rifle section of the Canadian 3rd Infantry Division through some travails around Caen in July 1944. I'm not even really looking to try to match this up with real events, just a series of squad/section-sized actions in Normandy. For campaign purposes (mostly tracking wounded), I'm going to call today July 15, 1944.
If you care to look, the post before this outlines a Canadian rifle section of ten characters (complete with some background info on each, and a German rifle squad of ten characters. The idea is that, while some of the individual characters may have some combat experience, it came with different units, and they were transferred into their current units, which are seeing action for the first time here in Normandy. I'm playing the Canadians and the boy is playing the Germans; we're using 5MIN pretty much straight out of the box, and we're playing on a 3' x 3' table. I wanted to start the campaign off on equal footing, so this first fight is the dreaded meeting engagement between two exactly equal forces, somewhere in Normandy.

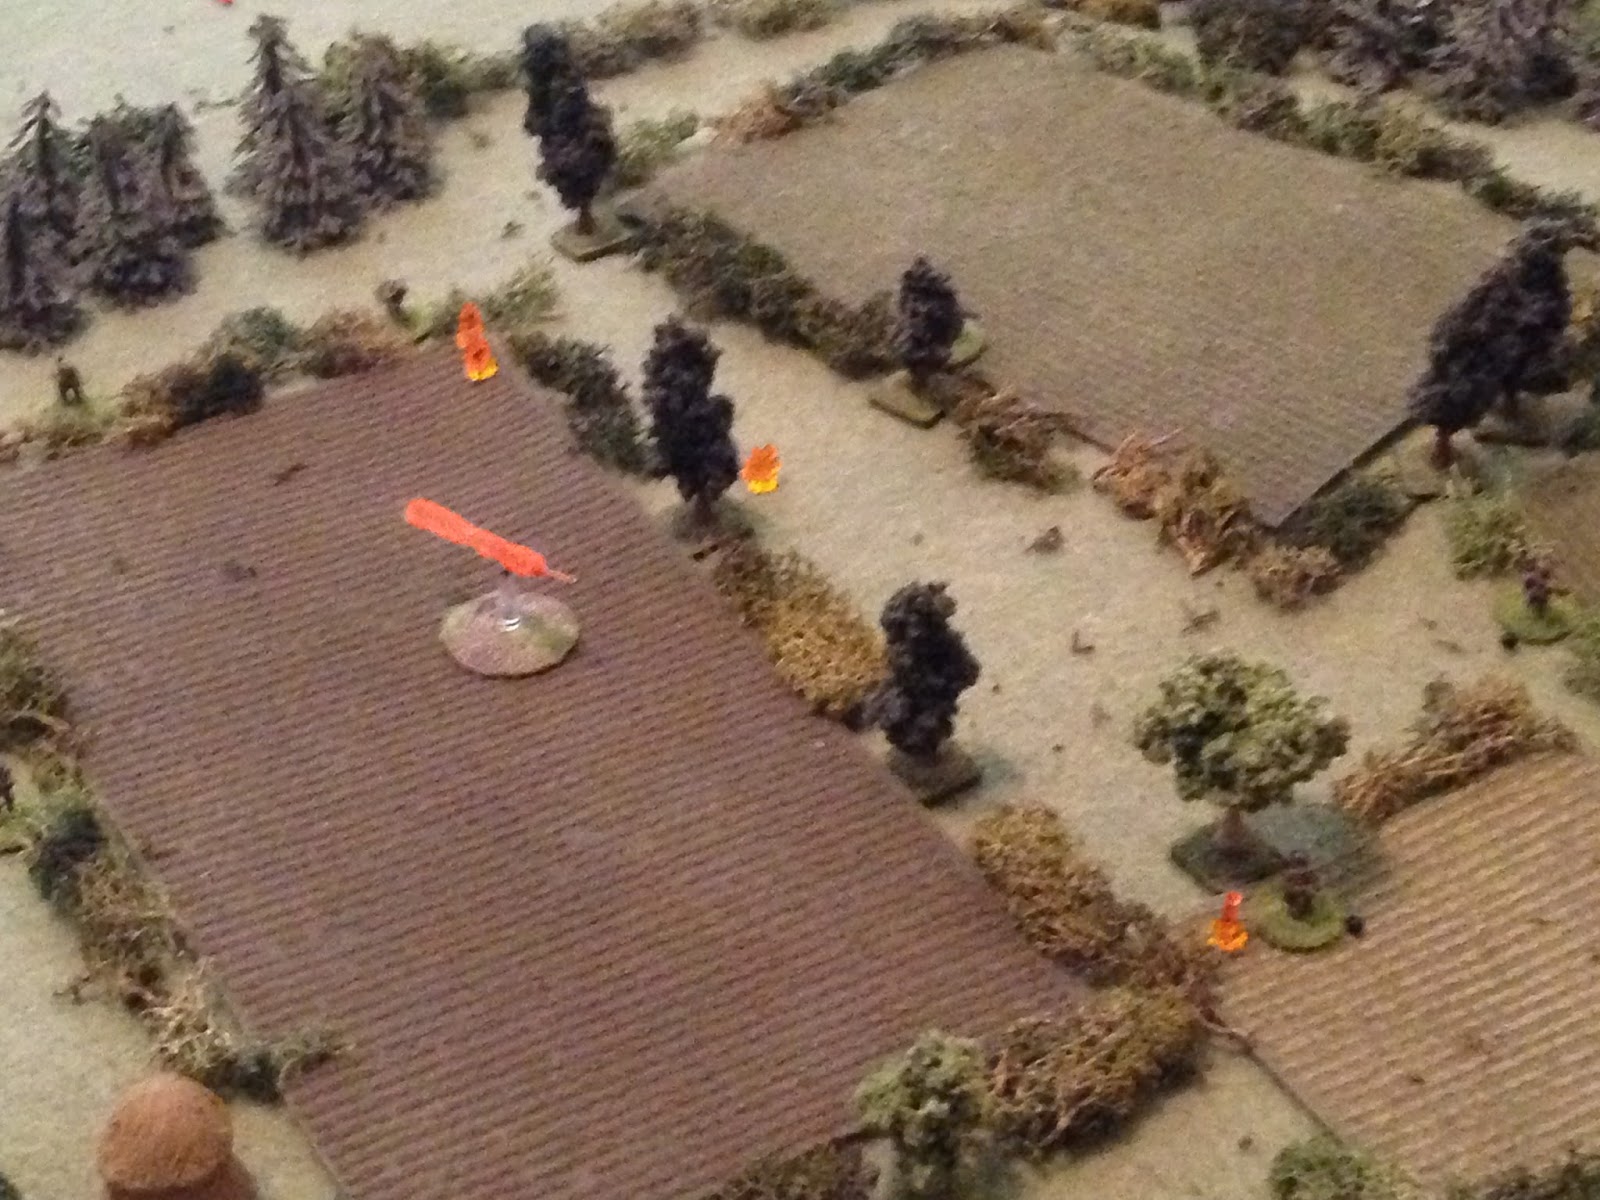
Overview of the map, north is up. The Allies in Normandy are attacking north to south, so those are the baselines for our antagonists. I usually get beat up on using carpet for hills; sure it looks pretty crappy, but at least you can see the contours! Trying to have a better looking table (even though it doesn't show up here!), I placed the carpet under my terrain mat; again, it doesn't show up here so well, but I'm very happy with how it looks in real life. At bottom left is a substantial rise with a bombed out farm atop, some rolling ground at bottom right with a wooden fence running along the ridge, and another decent-sized rise in at top left. There is a river running south-north; it's fordable by troops, but a substantial impediment to movement, except at the bridge of course (center), which links an east-west running hardball road. There's a lot of foliage, but it's not heavy bocage, just hedges, as well as some fields (they're low fields, not blocking line of sight or conferring cover), some stone walls that don't block LOS but provide heavy cover, and some haystacks that block LOS but are no cover.

Looking left (west) to right) east. You can see a little curvature from the carpet under the mat, I think.
Looking top (north) to bottom (south).
And finally, looking right (east) to left (west). The Canadians will come on at top right, the Germans at bottom left.
The opposing forces: a German ten-man rifle squad at top, and a Canadian ten-man rifle section at bottom. And the German squad is a 'regular' rifle squad with one MG-42, not a Panzergrenadier with two MG-42s. I think the only thing we see more out of proportion on NW Europe wargaming tables then Tigers are Panzergrenadier squads/platoons/companies/battalions.
The Germans, top row from left: L/Cpl Krumrie, L/Cpl Brucke, Pvt Busse, Pvt Voote, and Pvt Braun. Bottom row is: Cpl Wyche, L/Cpl Fulcher, Pvt Wilhelm, Pvt Keile, and Pvt Tomsen.
The Canadians, top row from left: L/Cpl Reed, L/Cpl Bennet, Pvt Talley, Pvt Thomas, and Pvt Levy.
Bottom row is: Cpl Kelly, L/Cpl Kelso, Pvt, Odames, Pvt McKellar, and Pvt Lofton.
When I took the picture I screwed up; Cpl Kelly will be leading the Rifle Group, while L/Cpl Reed will lead the Bren Group.
Looking right (east) to left (west) at top right corner of table, you see L/Cpl Reed leading the Bren Group forward at top center, while Cpl Kelly leads the Rifle Group at bottom center.
Another look at the Canadian initial deployment, with L/Cpl Bennet (bottom left) at the head of the Rifle Group column, moving up to the river.
Another look, this time from left (west) to right) east, showing L/Cpl Reed (far right) at the head of the Bren Group, and Cpl Kelly's Rifle Group at top center left.
Another shot, west-northwest looking east-southeast, behind the Canadians (far left and bottom right) looking at the German start positions (top center and top right). You can just see the Germans if you squint ;)
Looking south to north at the bottom right corner of the table we see the German deployment, with Cpl Wyche and the MG Group at far left, and L/Cpl Krumrie and the Rifle Group at top right. The way they are situated currently, both groups are in dead ground, a depression running left to right, with a few guys up on the crest (marked by the wood fence).
Another look, from right (east) to left) west), with Rifle Group at bottom center-left, and MG Group at top left.
Another look, kinda northeast to southwest.
Looking southeast to northwest from behind the Germans (bottom left and bottom right) at the Canadians (top center-left and top right).
One more shot of the table, with Germans at bottom right and Canadians at top left.
Let's get the show started!
First up is the Canadian Bren Group; L/Cpl Reed and his boys fail to spot anything, so they simply continue forward on their patrol route. Of course, you and I can see German troops at top center and top right.
And then the German MG Group (bottom left) doesn't see anything and keeps moving forward. Their Rifle Group is at bottom center and the Canadians are visible at top left (Bren Group) and top center (Rifle Group). Apparently I missed a photo: the Canadian Rifle Group failed to spot anyone and move up also.
But then the German Rifle Group spots the Canadian infantry (top center and top right). L/Cpl Krumrie and L/Cpl Brucke move up (next to haystack and bushes at right, respectively), while the other three take up positions behind the fence on the crest (bottom center).
And then, further left, the German gun group spots the Canadians (top left and top center), and they fan out. The MG-42 team sets up on the crest (bottom center), while Cpl Wyche pushes forward (center, at 'V' in hedges next to river, Pvt Keile stays right (bottom right) on the crest, and Pvt Tomsen moves left (bottom left).
The Germans have spotted the Canadians and moved into hasty ambush positions...
Looking north to south, Cpl Kelly and his merry band of riflemen (bottom center) still haven't spotted any Germans (top left and top center), so they cross the river and head east up a slight rise. L/Cpl Reed of the Bren Group is just visible at far right in a field.
But the Canadians manage some luck with L/Cpl Reed spots some movement up ahead and fans his men out. Reed is at top center left, next to the Bren team, while Pvt Lofton moves up on the right (bottom center) and Pvt McKellar hangs back (bottom left). It's hard to tell, but McKellar is at a high point, with the ground sloping away to top right.
Seeing the Canadians alerted, both the MG Group (far left) and Rifle Group (center right and top right) push men forward.
On the German far right, L/Cpl Krumrie decides to keep pushing even further. He leaves Pvt Voote (bottom right) back on the crest, then leads his other three men forward, towards the Canadian Rifle Group (off camera to top center left), who still haven't seen anything...
But just then Cpl Kelly spots the German Rifle Group (top left) and orders his men to fan out. He moves to the center, pushing L/Cpl Bennet left (far left), Pvt Levy right (far right, between river and hedge), and leaves Privates Talley and Thomas (bottom center) in overwatch positions.
On the Canadian right the Bren Group gets into position also. The Bren team sets up (center), while L/Cpl Reed pushes to their left (just above them), Pvt Lofton moves towards the road (bottom center right, at crook of hedge), and McKellar holds tight (behind tree at bottom center left). You can see the Canadian Rifle Group at top left, the German Rifle Group at top center, and the German MG Group at top right.
The stage is set, we just need someone to pull the trigger.
And the Canadians are able to get the first shots off! L/Cpl Kelso stands on the trigger (bottom center, with L/Cpl Reed just left of them), sending a long burst at the German MG-42 team (top center).
The gunner hits the deck, his a-gunner is scared @#$%less, and Cpl Wyche (top left) is pinned.
Pvt Keile (just below bend in the river at center) returns fire on the Bren team (top center), to no effect.
From behind the Bren team, Pvt McKellar (bottom left) fires on Pvt Tomsen (top right) and puts him on his face (not sure if he's hit or just taking cover).
Pvt Busse of the Rifle Group (bottom center right; not behind the haystack, the guy just left of it) returns fire but misses (German MG Group is off camera to bottom left, Canadian Rifle Group is at top right/top center).
Back on the German left, Cpl Wyche begins sprinting back up the hill to check on his MG team (yellow bead at bottom center left, from bushes at far left)...
Pvt Thomas of the Rifle Group (far left) spots him and fires (top right)...
But the rifle fire is inaccurate and the German Corporal makes it to his boys, getting the gun back in action.
Sorry, the one photo where the flash came on...
On the German right, L/Cpl Krumrie peers around a haystack (bottom center), spots Cpl Kelly (top center), raises his MP-40, and sends a burst his way...
Kelly is hit and goes down (top center right); Pvt Talley (top right) sees him go down and blindly returns fire at Krumrie (bottom left), missing.
L/Cpl Krumrie (bottom right) peers out again and fires another burst, this time at Talley, but he misses (there was a random event that allowed him to act twice).
L/Cpl Brucke (bottom right) squeezes off several rifle rounds at Talley (top left) while Krumrie (center right) moves up.
Brucke then moves up (bottom right, with Krumrie to his top right), but Pvt Thomas (top left) sees him and fires, pinning him.
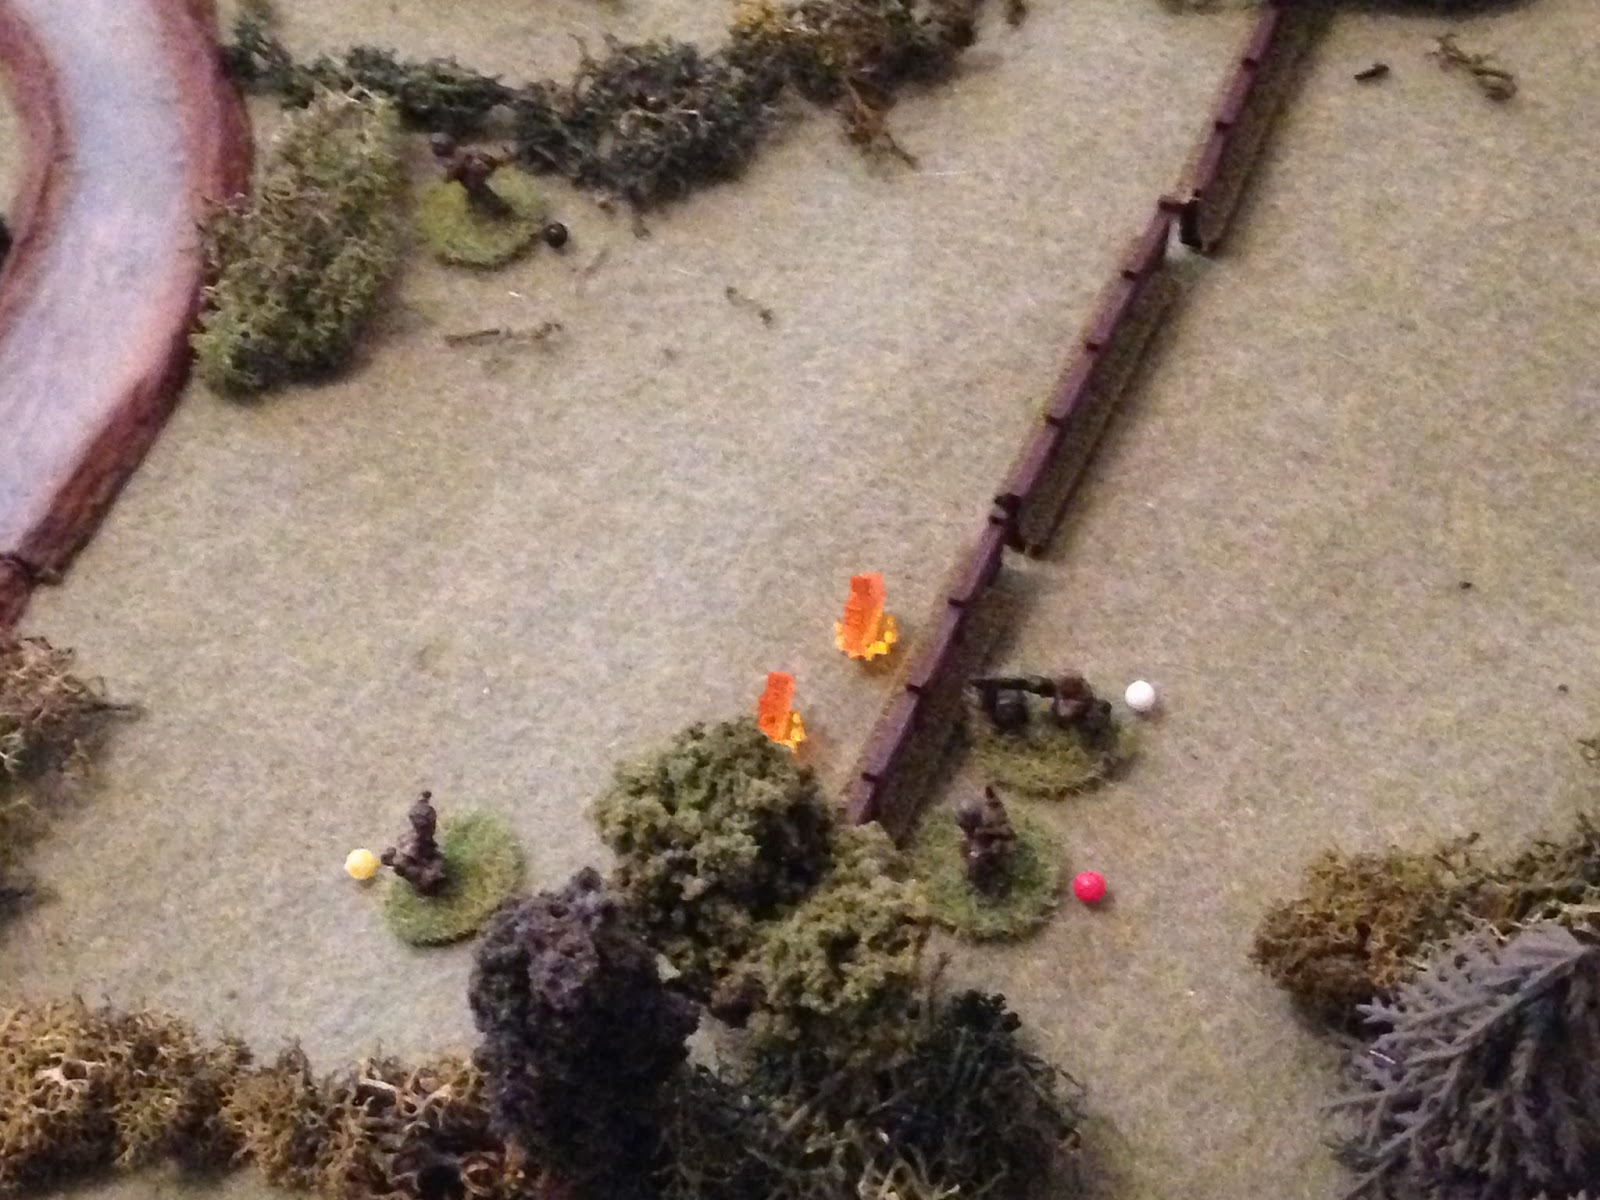
At top left, Pvt Bennet charges forward, practically right on top of German L/Cpls Krumrie and Brucke; the German MG team (bottom right) sees this and snaps off a quick burst...
But Bennet (left) is unfazed; he comes up on the hedge and is very surprised to find a German Landser on the other side! He pulls his Enfield up and fires, missing but forcing the Hun to dive for cover.
Looking south to north, with the Kelly-Bennet-Krumrie-Brucke at top center, Pvt Levy begins moving up near the river (top left), when Pvt Braun (bottom right) spots him and fires, pinning him.
The German squad leader, Cpl Wyche, breaks his foot off in the ass of his MG-42 team (bottom center), and they hurl a hail of lead at the Canadian Bren team (top left)...
L/Cpl Reed (top right) watches in horror as the Bren team is ripped to pieces...
And then Wyche (bottom left) levels his MP-40 and squeezes off a burst at Pvt Bennet (top center), sending him skittering.
And then the German MG Group's Pvt Keile (bottom right), who managed to sneak up to the river, spots L/Cpl Reed's helmet above the hedge near the knocked out Bren team (top left). Keile takes up a good prone position and squeezes a round off from his K-98...
And Reed (center) is down....
Uhm, I'm not sure, but I think the boy is kicking my ass again...
From the Canadian far right, Pvt Lofton (bottom left) returns fire on Keile (top right), missing.
And then Pvt McKellar (bottom left, with Lofton at bottom center) takes a shot at the German MG team, but he misses. McKellar and Lofton are all that is left of the Bren Group...
But then, looking north to south, Pvt Talley raises his rifle and fires at the MG-42 (top center)...
Popping the gunner, L/Cpl Fulcher. The assistant gunner, Pvt Wilhelm, nervously takes over the gun, as Cpl Wyche (yellow bead) looks on.
In the center, Pvt Levy shakes off his pin and moves into the field (eft), where German Pvt Braun (bottom right) spots him, fires, and misses. Levy has spotted the pinned German L/Cpl Brucke (center left, yellow bead)...
So rather than return fire at Braun, Levy fires on Brucke, putting him out of the fight.
Trying to get something going in the center (Levy is at far left), Talley (top center) moves up next to badly injured Cpl Kelly (with Bennet just right of them. German Pvt Busse (far right) takes a shot but misses.
Talley (bottom center, with Levy at right and Bennet at left) returns fire, but misses too...
But then German Pvt Voote, still back on the hill crest (bottom right) carefully sights in on Levy and fires. Levy goes down, either injured or trying to dig a hole with his belly button.
And then Busse (bottom right) fires on Talley (top left)...
And drops him (top center) right next to Cpl Kelly. The Canadian Rifle Group has Levy (bottom left) and Bennet (far right) hugging the deck; someone needs to get up there to check to see if they're hit or just need a little encouragement to get back in the fight. But who? The only man left in the Canadian Rifle Group is Thomas (off camera to top center left); similarly, the Bren Group is down to two effectives...
Back on the Canadian right, McKellar (bottom center, with Lofton at bottom right) sights in on the German machine gun...
And drops Wilhelm, who'd already taken over for the gunner, Fulcher.
Seems machine gunners don't have much in the way of life expectancy here...
And then McKellar moved up (top center, from bottom left).
Pvt Lofton moves up to the Bren position (bottom center), but the gun was destroyed by enemy machine gun fire. He spots movement to the east (top center-right) and pops a round at Pvt Braun, missing.
But sitting next to his own knocked out machine gun team, Cpl Wyche fires his MP-40 at Lofton, who hits the ground...
And on the German right, Pvt Braun moves up to a haystack (bottom center) and fires on Pvt Thomas (top left), putting him on his face, too.
The Canadian Bren Group's McKellar begins moving up to check on Lofton (top left), and is a little discouraged when Pvt Voote (bottom right) takes a shot at him, though it misses.
McKellar (bottom center left, with Lofton either cowering or dead at bottom center right) raises his rifle and fires on Braun (top center), and he goes to the ground.
At this point, both sides have had enough and decide discretion is the better part of valor. As a lull sets in, both sides police up their casualties and return to their own lines without another shot fired.
Good Lord! Technically a draw, but he was putting a hurtin' on me again. I liked the idea of playing more spread out on a bigger table, but it made it really difficult to get to grips with the enemy or to support your own troops suffering negative morale effects. And I was surprised how bloody it was even with us throwing 1K 1S most of the time (for all the bolt-action rifles at battle range). Maneuver was really rough in sheer movement distance on the large table, and with so many possibilities for reaction fire it was treated quite roughly. I'm not saying that's not realistic, just saying it was rough. Casualties as follows (strangely enough, no KIAs):
Canadians
Corporal Kelly (Section Leader) - Took a round in the shoulder, won't be available until 25 Jul 1944.
Lance Corporal Kelso (Bren Gunner) - The war is over for him. Hit several times by the enemy machine gun, he lost a leg and his headed home.
Private Odames (Assistant Gunner) - Hit in the chest, a very serious wound that will see him recuperating for the duration of the campaign in Normandy.
Private Talley (Rifleman) - He was shot in the hand, on light duty until 24 Jul 1944.
L/Cpl Reed (Assistant Section Leader) - Just a flesh wound, hit in the forearm. It was a simple through and through that didn't hit anything vital but bled a lot, he's already back in the line.
Germans
Private Wilhelm (Assistant Gunner) - Hit in the neck, he was severely injured and is on his way to Germany for treatment, out for the duration of the campaign.
Lance Corporal Fulcher (Machine Gunner) - Hit twice in the left leg, he'll be back, but it's going to be awhile, probably 7 Aug 1944.
Private Keile (Rifleman) - Shot in the neck, he will convalesce locally but will be out of the line until 2 Aug 1944.
Lance Corporal Brucke (Rifleman) - A ricochet hit him in the calf; on light duty for about a week, will return to the squad on 23 Jul 1944.
So there was the first fight; please tell me what you thought of the fight and the table. I'm thinking the next fight will be on a 2' x 2' table, with less troops (and probably unequal, too), though I'd love to hear what you guys thought of how it played out.
In any case, it probably won't happen this weekend (or, by the time I post this, probably didn't happen this past weekend). Doing my best to see the silver lining, our baseball season is officially over; having not done very well in the tournament, I should now have more time for wargaming. I did already play a pretty cool solo game of Royal Marines vs Taliban in Helmand Province, and I'd like to get some more of that in, it was a lot of fun, and maybe the boy and I can get something in soon. Stay tuned.
V/R,
Jack


A nice report on an awesome battlefield!
ReplyDeleteThanks Phil, I appreciate it!
DeleteV/R,
Jack
To answer your last question first - 2"x2" rocks! I know I thought 6" move was too much on a 2"x2" but that is what I have used in my last few games. The action starts sooner, and there is a lot more support possible (as you noted, on a 3"x3" the figures are further apart.
ReplyDeleteOne thing I did think when you were starting off is how long the soldiers will last as some games can get quite bloody. You answered that with this game with a number out of action for awhile.
I liked how the battle played out but the 3"x3" meant it took a little while to get going.
Shaun,
DeleteYeah man, 2' X 2' is proving to be the sweet spot, and it's a hell of a lot quicker to set up and take down. My only issue is that I like the idea of playing on a big table, where it looks like the guys are ecru ally engaging at 300 yards.
V/R,
Jack