All,
I got another couple games in, here's the first. Unfortunately my individually-based forces aren't very diverse; all the completed ones are terrorists vs. very highly trained special operations types, or they aren't finished... I need to get some more finished, but right now I'm over my painting and basing kick, I want to play! So, because I don't have more 'standardized' modern forces, I figured it would be best to go with some WWII figures I have ready. The games were entertaining, I hope the batreps are too.
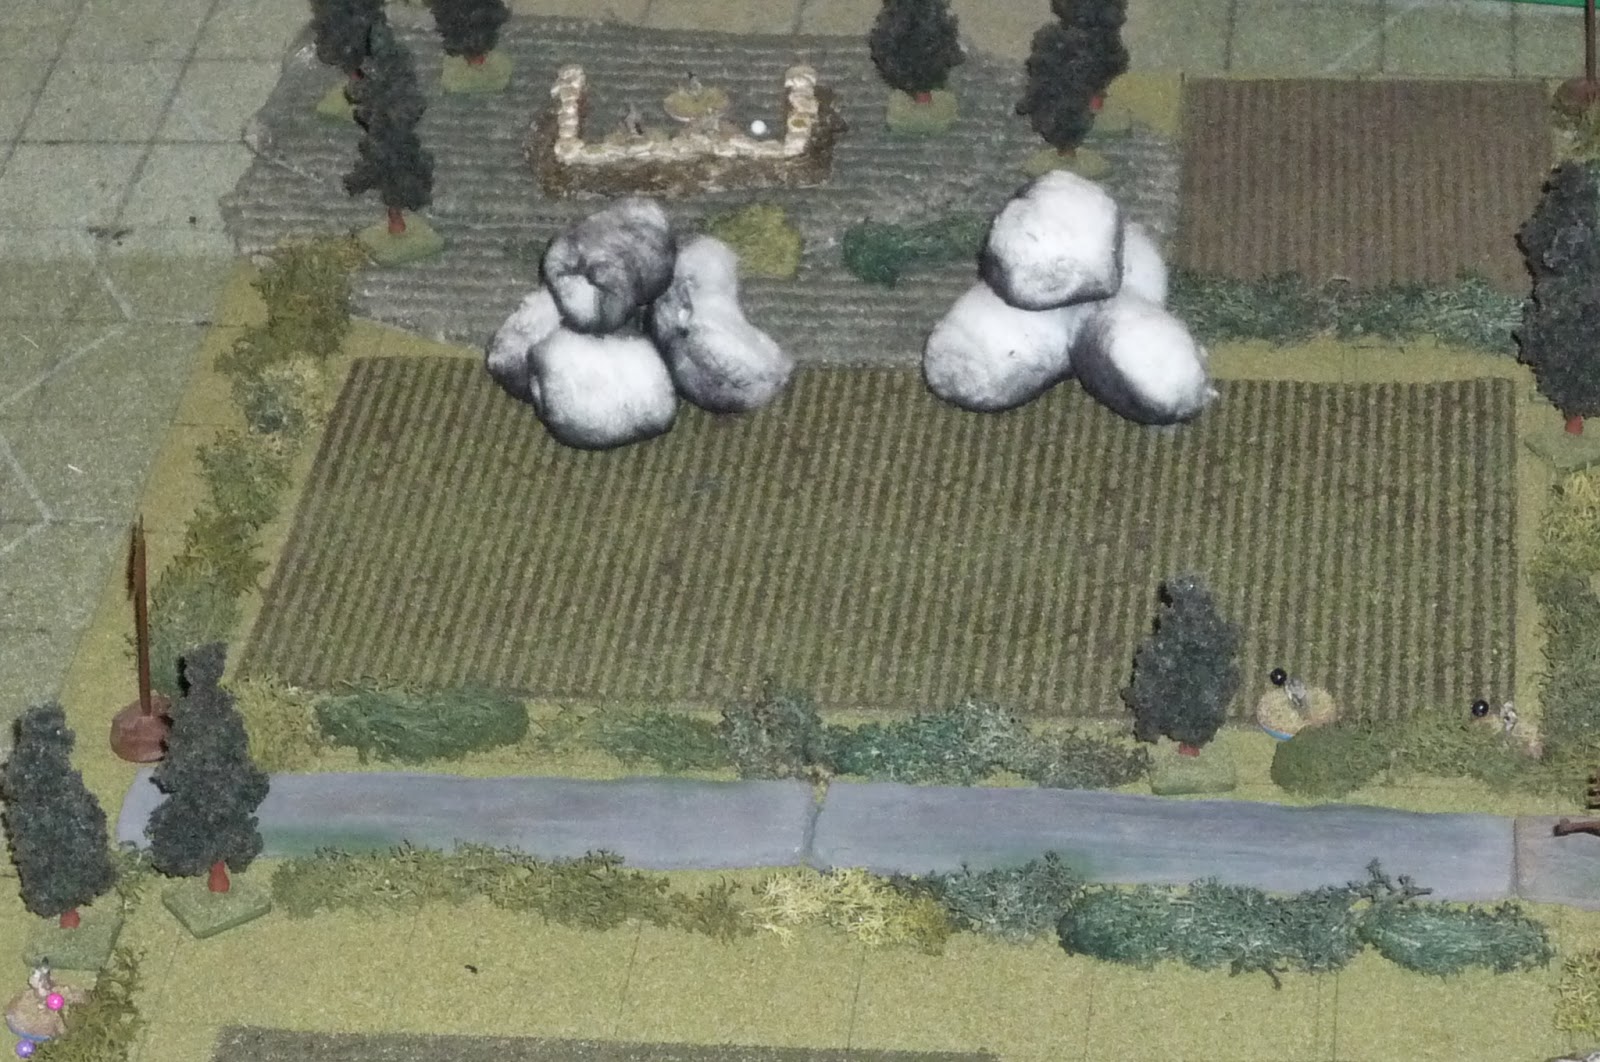
Here's an overview of the board, somewhere in the British sector, Normandy, July 1944, north is 'up.' A Brit reinforced squad is conducting a combat patrol to locate and destroy the German machine-gun position at top right. The Germans have a couple pickets just east of the crossroads, and a couple more southeast of the crossroads.
The German MG position atop Hill 35.
The German pickets.
The Brit squad, reinforced with a 2" mortar and a combat engineer. The Bren Group is at top, with a Corporal (with Sten), the Bren, the Bren assistant, a rifleman, and the 2" mortar. The Rifle Group is at bottom, with the Sergeant, a SMG gunner, four riflemen, and the engineer (also carrying a rifle).
Brit start positions, with Bren group at top left and Rifle Group on the road moving east.
The German rifle at the crossroads (right center) spots the Brit pointman on the road, fires twice at him, missing both times but causing him some 'combat stress,' which causes him to drop everything and head for the hills (a severely failed morale test).
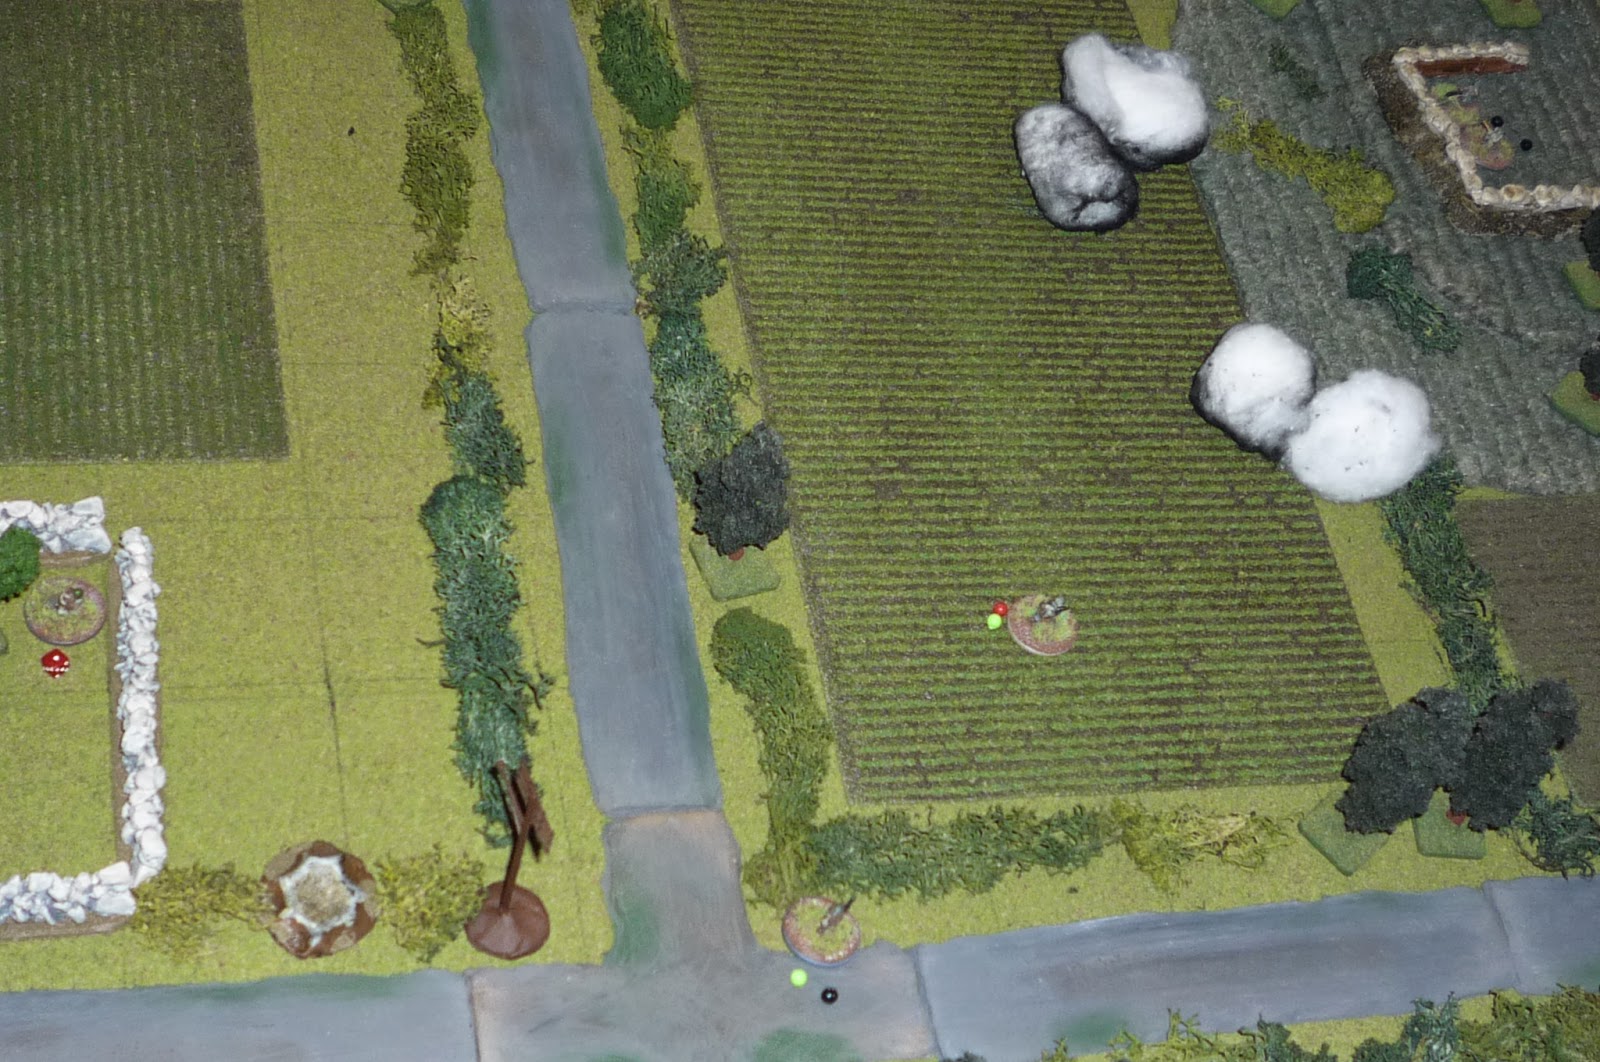
Sten gunner (center left), hopped the wall into the orchard to get out of the street, rushed to the east, and spotted the German SMG gunner (top center). The German SMG gunner returns the favor, fires, misses, then goes on overwatch (real quick: red=serious wound, yellow=light wound, green=prone, violet=unspotted, pink=fired, purple=ran, white=overwatch, black=acted). One of the SE German riflemen (bottom right) moves up to the crossroads, fires, and puts a serious wound on the Sten gunner. He then went on overwatch.

The next Brit rifleman in the street activates, but he's spotted and the German that just shot the Sten gunner in the orchard (center left) opens up using his overwatch action, and hits him (bottom left), giving him a light wound and some stress. For the record, that German rolled two 20's in a row. The Brit goes prone and spots his assailant, while the next Brit rifleman in the street (center bottom) runs up and hops the wall, moving towards the house. The German SMG uses his OW action to fire, but misses.
Meanwhile, the farthest south German rifleman actually sprints forward and gets into the building directly in front of the Brit Rifle Group. The Brit Sgt (bottom left) moves right and spots the German in the building, taking a shot but missing.
The Engineer sprints over to the Sgt and fires, dropping the German in the building. The Engineer then hops the wall (center left), while the last rifle sprints right, hops wall, and runs into building (center).

Meanwhile, the Bren Group Corporal (on right) moves up,, hops wall, and scootches up to the wall to get a peak at the suspected German MG position. The Brit Bren gunner (center) also come up, and the German Corporal and Assistant Gunner at the MG position are activating to spot then going on overwatch to spot the Brits as they come forward. Lastly, the Bren assistant (left) comes up, at which point the German MG-42 gunner opens up. The Bren is meat, dropping immediately and out of the fight. The Assistant was not hit, but the Corporal received a light wound (the red dice show stress). The MG fires again, missing, but adding +2 stress to the Corporal and Assistant. The MG goes on overwatch. I also removed its unspotted marker as it's pretty much where the Brits thought it would be and has let off two long bursts.

At bottom left, the 2" mortarman creeps forward to get a look at the German MG position; the German Cpl uses his OW action to spot, then the MG opens up, but misses. The 2" fires smoke twice, missing slightly right the first time then dropping on target the second.
The remaining Bren group riflemen (bottom left) utilizes the cover of the smoke to sprint clear across the field to the left and up towards the German MG position. At center right are two German pickets.
A Brit rifleman moves into the building (bottom center) and takes a shot at the German SMG gunner (top center), getting a serious wound. The Brit takes aim at the German's partner at the crossroads, but misses. The German takes two tries but spots the Brit in the building, then fires and misses.

The German MP-40 (top right) crawls back, trying to get away, which was an error on my part... I should have waited to activate him, he could have crawled anytime. I was trying to delay activating the Germans still in the fight to get the Brits up closer where the Germans could react better, but really it just let the Brits put more stress on the Germans that hadn't activated yet... In any case, the Engineer sprinted to the building and took a couple shots at the German rifle at the crossroads. This forces him to test before he can activate, and he doesn't do well, and has to drop prone without acting for the remainder of the turn... The Brit rifle (bottom left) that had taken MP-40 fire while hopping the wall to get out of the road also tests and has to go prone, while the seriously wounded Sten gunner drags himself back through the orchard.

The Brit rifle (left center) that had been lightly wounded in the street tests and acts normally, firing twice at the German rifleman on the SE corner (top right) of the crossroads, missing twice.
While the Sergeant moves into the building with the Engineer and a rifleman. The Sgt fires at the German at the NE side of the crossroads (top center) and gets a light wound.
The Bren assistant tests and has to drop prone. So does the Corporal...
The German Corporal (top right) moves right to get a peek at the Brit rifleman moving up the left side (top left). The German Corporal successfully spots him, and then the German MG ripped him to pieces...
The 2" mortar (bottom left) passes his morale test and activates normally! He hops the wall and sprints all the way up to the wall near the crossroads. This is the last time he'll do anything useful... You can see the German rifle at the crossroads with a light wound, and the MP-40 gunner dragging his carcass away at center.
The Engineer (bottom left) sprints ahead out of the building and fires at the German rifle (center right), getting a light wound. The Engineer fires again, missing, but adding to the German's stress.
The German MG opens up, missing the Bren assistant, the Bren Corporal (top left), then shifting fire to the his left and missing the Brit Sergeant (in building, bottom center). The German rifle on the north side of the crossroads tests and fails, decides he's seen enough action today and leaves town. The Brit rifle in the building similarly fails his test, so he sprints back to the wall, hops it, then falls prone, crying like a baby (bottom left).
The Brit rifle inside the wall at the building hops up, sprints into the intersection, then flops back down (center), while the German on the SE side of the crossroads fails his morale test and flops prone too.
The German Assistant Gunner uses two tries to spot the 2" mortar (bottom left), then fires and misses him, while the wounded Brit rifleman in the street stands up and hops wall (off camera to left) and the German SMG gunner crawls right (center right).
The Brit Sergeant (center left) passes his morale test, moves up, and shoots the German rifleman SE of the crossroads (body at center), then sprints right.
Brit Sergeant is at bottom right. The Brit 2" mortar fails his test and drops prone (off camera to left).
The Bren assistant passes his test, so he grabs the Bren gun, stands up, and fires at the German MG, missing. This was the first and only time the Bren gun got into action today... The Corporal tests and decides he likes it just fine counting flowers at the base of the wall...
And here's where I made another mistake. I looked at the German Corporal, who didn't have a black bead next to him, and I thought, "Holy Crap, I forgot to activate him!" Well, he opens up on the Bren gun and quickly dispatches him with his first shot. He puts two more bursts from his SMG at the Bren Corporal, not hitting him, but putting more stress on him.
The Brit Sergeant, in field at right, sprints across road and at the German MG nest...
Then he darts up the road into the patch of trees just south of the MG nest. He fishes a grenade out of his fatigue jacket, pulls the pin, 'cooks' it off for a second, then lobs it at the Germans... Who are dumbfounded when it rolls all the way down the hill and explodes harmlessly... The German A-gunner spots the Brit Sgt and fires, missing him twice.
The Brit rifleman at the crossroads (bottom center) prepares loop sling and calmly takes up a nice prone firing position. He targets the German MG gunner three times, hitting him... not once.
The German Corporal moves back to the MG position (top left) and fires at the Brit Sgt (top right), missing. Then the German Cpl turns his fire on the Brit 2" mortar (off camera to bottom) missing him also. The German MG gunner, who just racked up some stress from the rifleman at the crossroads, fails his test and falls prone.
The Brit Engineer, bottom right, sprints right and up to the road, then lines up on the German A-gunner. His first shot goes wide, but the second drops him! The German SMG gunner (center right) continues crawling towards the German baseline.
The Brit rifle that was in the house but ran and hid behind the wall last turn finally found his testicles, hopped back over the wall, and charged forward (bottom right). At top left there are two guys behind the wall: the 2" mortar tests and remains prone, while the wounded rifleman pulls himself up and fires the German MG, missing. The Sten gunner, hit earlier, crawls into the street (bottom left) on his way back to the aid station.
The Bren Corporal passes his morale test, so he stands up and lays down covering fire on the MG while the Bren assistand crawls south towards the gate.
The German Corporal moves up (in the MG position) and fires at the Brit Sgt, giving him a light wound, then goes on overwatch. The plucky Brit rifleman at the crossroads can't hit a damned thing, but he continues to add combat stress to the German MG gunner every time he activates. The MG tests to activate, but he doesn't do well and spends the rest of the turn in the fetal position.
Oh, and I lied: the 2" mortar actually does finally pass a morale test, and with that he opens up on the German MG gunner, putting him out of action. The German Corporal returns fire, to no effect, then sprints away down the hill (by choice, not morale)!
The last act is for the Engineer to move up and capture the German SMG gunner (far right). The Brits have accomplished their objective by knocking the German MG out. Here's how it broke out:
Germans - Their NCO and one of their rifles ran away, while their SMG gunner was captured and four men went down.
Brits - One rifleman ran away, a rifleman and the Bren gunner went down, the Bren assistant and the Sten gunner received serious injuries, and the Sergeant, Bren Group Corporal, and one of the Rifle Group riflemen received light wounds.
A fun, interesting fight that took a good 2 and 1/2 hours to complete. But stay tuned, I had more time.
V/R,
Jack


No comments:
Post a Comment