All,
I recently re-painted and re-based some 10mm Pendraken troops, Canadians and German FJ, in order to give Arty Conliffe's "Crossfire" rules a go with my seven year-old son. My father and I had played quite a few games several years ago, but we couldn't quite get it going for us. I was screwing around surfing the internet and started to become intrigued, once again, but the rules. In particular, I spent quite a bit of time on "Steven's Balagan" blog, which has a tremendous amount of Crossfire-related info on it. This weekend my boy and I got to it. I set up a table, got some 10mm troops out, then spent about 30 minutes walking him through the rules. At the conclusion, he and I played a small test game.
So, this isn't a 'proper' battle report, but he and I did play a game and I did snap some photos, so I figured I'd share. More importantly, I'd absolutely love for some of you Crossfire veterans/gurus out there on the interwebs to have a look and share some of your insights. The boy grasped the rules fairly quickly, and there was hardly any referencing the rules (just the modifiers for close combat) once we got started. The game was going pretty well, moving right along, but I'd be lying if I said I didn't come out of it with any reservations. The boy moved very aggressively, demonstrating a solid understanding of what we're trying to do (with me giving some pointers, as necessary, along the way). He ended up on my side of the board, flanking me, pretty damn quickly (what I love about the rules), but he lost the initiative and I was able to shore things up, denying my flank, and there we sat, unable to break the deadlock. Eventually I finally got tired of it and recklessly dashed down from my hilltop position, into close combat, but I was repelled, and the stalemate ensued.
I'm really hoping that this was a function of me screwing something up, that I did something wrong, that my table was too small, that we didn't have enough troops on the table, that I had too little or too much cover on the table (I know, in Crossfire you can never have too much cover), and it's certainly possible. I think I had a goodly amount of cover, but we used identical forces (one rifle platoon, an MG, and an on table mortar) that were kind of small, and we played on a 3' x 2' table, and we played with everyone on the table, no hidden forces (but, to be honest, I'm hoping that's not the issue, as I don't want to play hidden forces with my 7-year old). I'm hoping it's one or more of those factors.
But I sure got a sinking feeling, same old problem I always seemed to have. Help!!! I really want this to work. Don't worry, we're not giving up, we'll be playing more, I just want to see if we can hammer out any problems as quick as possible.
The table, 3' x 2', which I just quickly threw together to try out the rules. My baseline is at bottom left, with my small force in the center, and the boy has the opposite baseline. He spread his troops out a little more than I did. That's him at top; please don't let me lose to someone wearing Star Wars pajamas ;)
We conducted an opposed die roll to see who would have initiative, and I actually won.
His mortar, platoon commander, and a rifle squad. His MG and two more rifle squads are further right.
My guys, packed together.
I started the game by doing a group move onto the hill at bottom left. He react fired from top right.
He won initiative by suppressing a rifle squad, seizing the initiative. Then he fired his mortar at my MG on the hill, but missed.
Mortars missing don't cost you the initiative, so he moved some troops up on my right.
Then he moved up a squad in the center, and I cut loose with my MG (bottom left), suppressing them and winning the initiative. I don't know what he was doing, but I let him so I could emphatically show him how this works, in terms of no fixed turns, initiative swinging back and forth. That seemed to cement it in his head.
I moved a squad up to cover my right flank (top right).
But he react fired on them.
Having suppressed them (red bead at left) with his MG (top right), he dashed a rifle squad across the street (bottom center).
Where they crossed the wall, turned right, and charged into the house! I told you he's getting it.
Having won in the house (bottom center), he moved his MG up (top left) and brought another squad up (center). As we didn't have much quantity in terms of forces, and this was our first trial, we hadn't really worried too much with the Platoon Commanders, group moves, and fire groups. But this is where I showed him what that PC could have done for him. I.e., with his PC he could have brought two squads into that close combat and made it pretty much a foregone conclusion: sure he won, and I was -2 in dice roll, but I could have been -2 and he could have been +2 (PC and extra squad).
Either way, he got his MG (bottom right) working on my MG (top center), after bringing his two rifle squads up abreast (individually). That's my mortar team at far left, all by its lonesome!
But he got some terrible shooting dice and lost initiative!!! This is what I was talking about: he was all set to trounce my ass, but he lost the initiative and this allowed me to shore up my right flank. I told him he didn't have to fire on my MG with his MG, that he could have just close assaulted them as they're firing arc was to top right. But as he didn't have his PC on this side to group move, he didn't feel comfortable close assaulting the MG as it wasn't pinned or suppressed.
My MG team opened fire on the Canadian rifle squad in the middle (open), and mowed them down. I also moved my mortar team to safety (top left) and replaced them with a rifle squad (far left).
See, I've taught him well, you don't close assault an unpinned, unsuppressed enemy ;) But as I'm typing this, I just realized I kinda screwed him. That is, I had earlier explained to him that crew serves are -2 in close combat, but I didn't think to remind him of that at this juncture.
My MG fires on his, but they were in the woods and so I lost a dice, only managed a pin. From here there was a lot of firing mortars ineffectually, rallying troops, and exchanging MG fire ineffectually.
We really just couldn't get any lucky dice with the mortars; here his (top right) fires on my MG (bottom left), missing.
His PC moves up and rallies the suppressed rifle squad in the center.
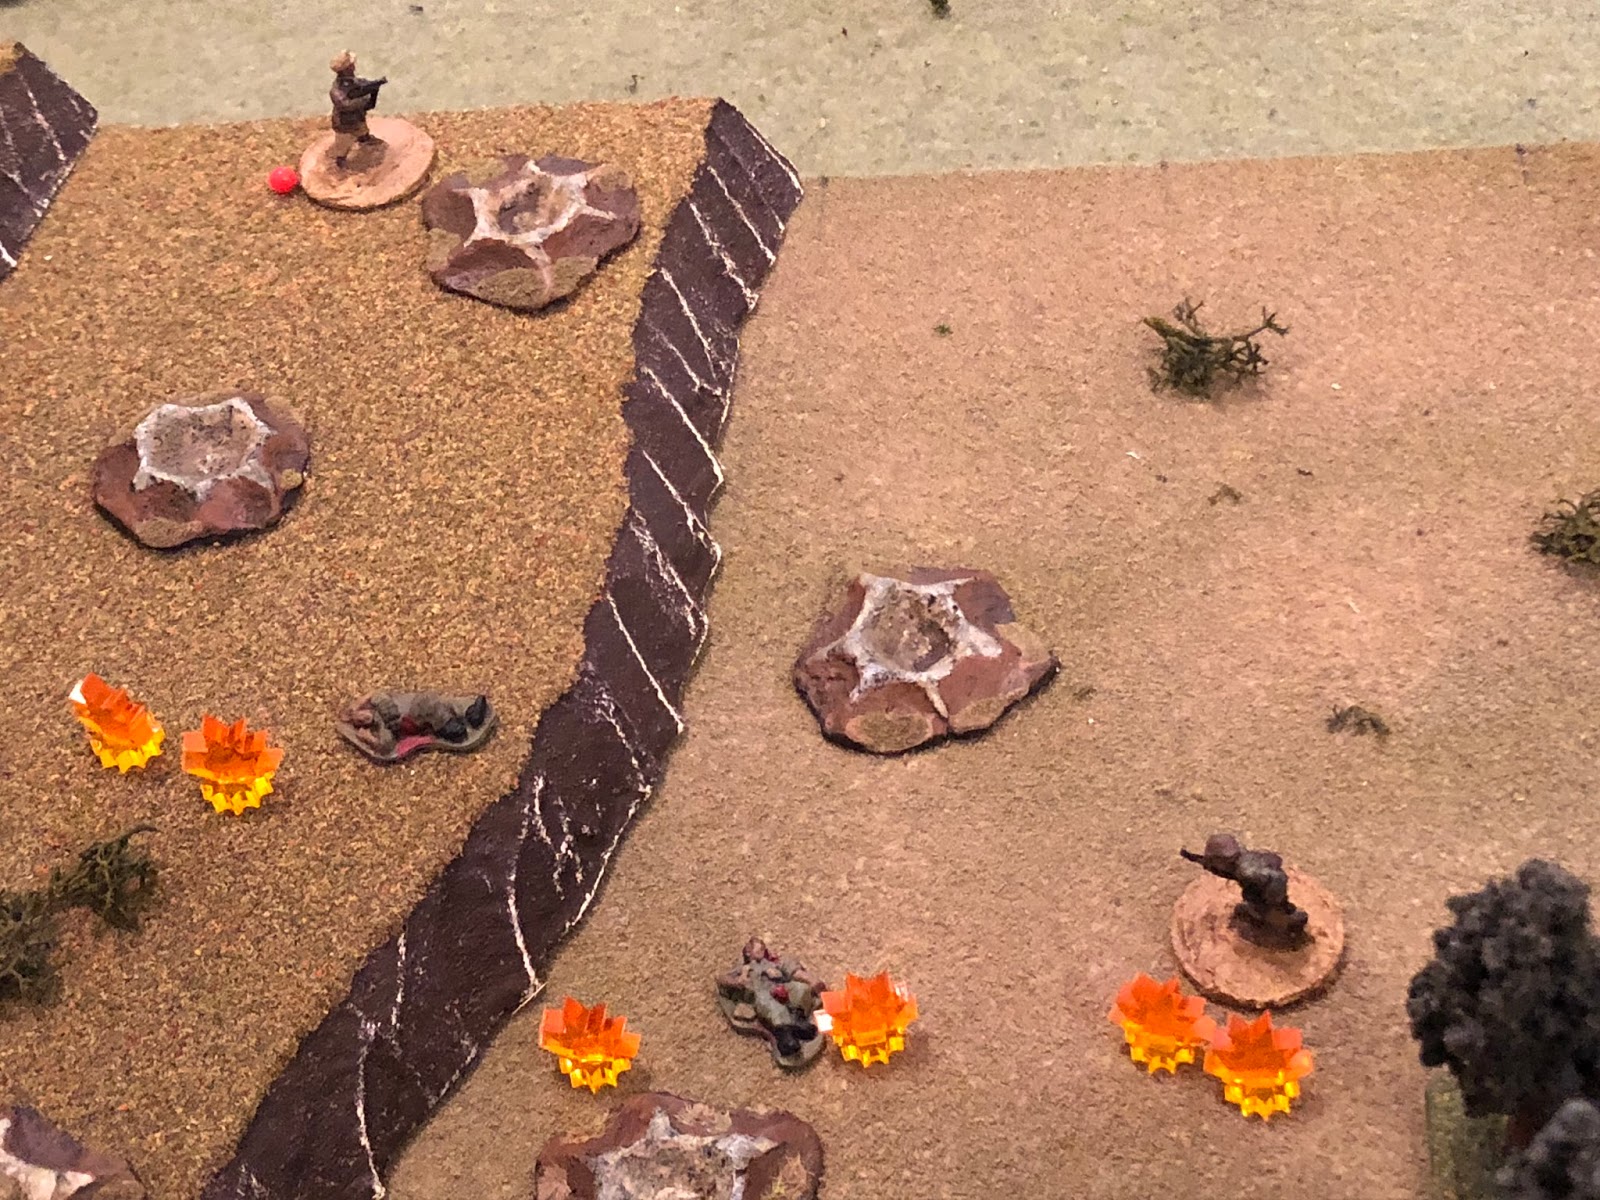
And then he very cleverly moves them forward (top right) into cover, right at the base of my hill. see, my rifle squad up on the hill is suppressed (red bead), my MG team is looking at his encroaching units on my right (just off camera to bottom center and right), and the rifle squad I had at top left was switched out with my mortar team. So the boy done snuck right up on me.
His MG team (bottom right) fires on my MG team and suppresses them. And then his rifle squad at bottom center...
Moves up. I don't fire with my rifle squad (left) because they'll only get two dice and I don't want them to go 'no fire,' I want them to be able to react if he charges them. So he fires on them.
Bu they're only pinned (yellow bead at bottom left) and he loses the initiative. I fire my mortar (top left) at his MG (bottom right, and yeah, we're not worrying about mortar minimum ranges right now).
My PC successfully rallies the rifle squad and MG team on the hill.
My MG fires on his, only get a pin, I lose the initiative.
The boy's mortar (top right) fires ineffectually.
His rifle squad fires on mine, and they get a suppression!
But now my MG team (center) is rallied, so back in the fight, so he goes after them with his MG (bottom right).
Only a pin, so I've got the initiative and my mortar fires on his squad in the house at bottom right, nothing.
My MG team fires on them too, still nothing.
His mortar (top right) fires on my MG team, pins them.
His MG team (bottom right) fires on mine.
Nothing, he loses the initiative, my mortar fires on his squad in the house at bottom right.
Nothing, my MG team fires on the house, nothing.
His mortar (top right) fires. Are you seeing a pattern yet?
His MG (bottom right) fires on mine.
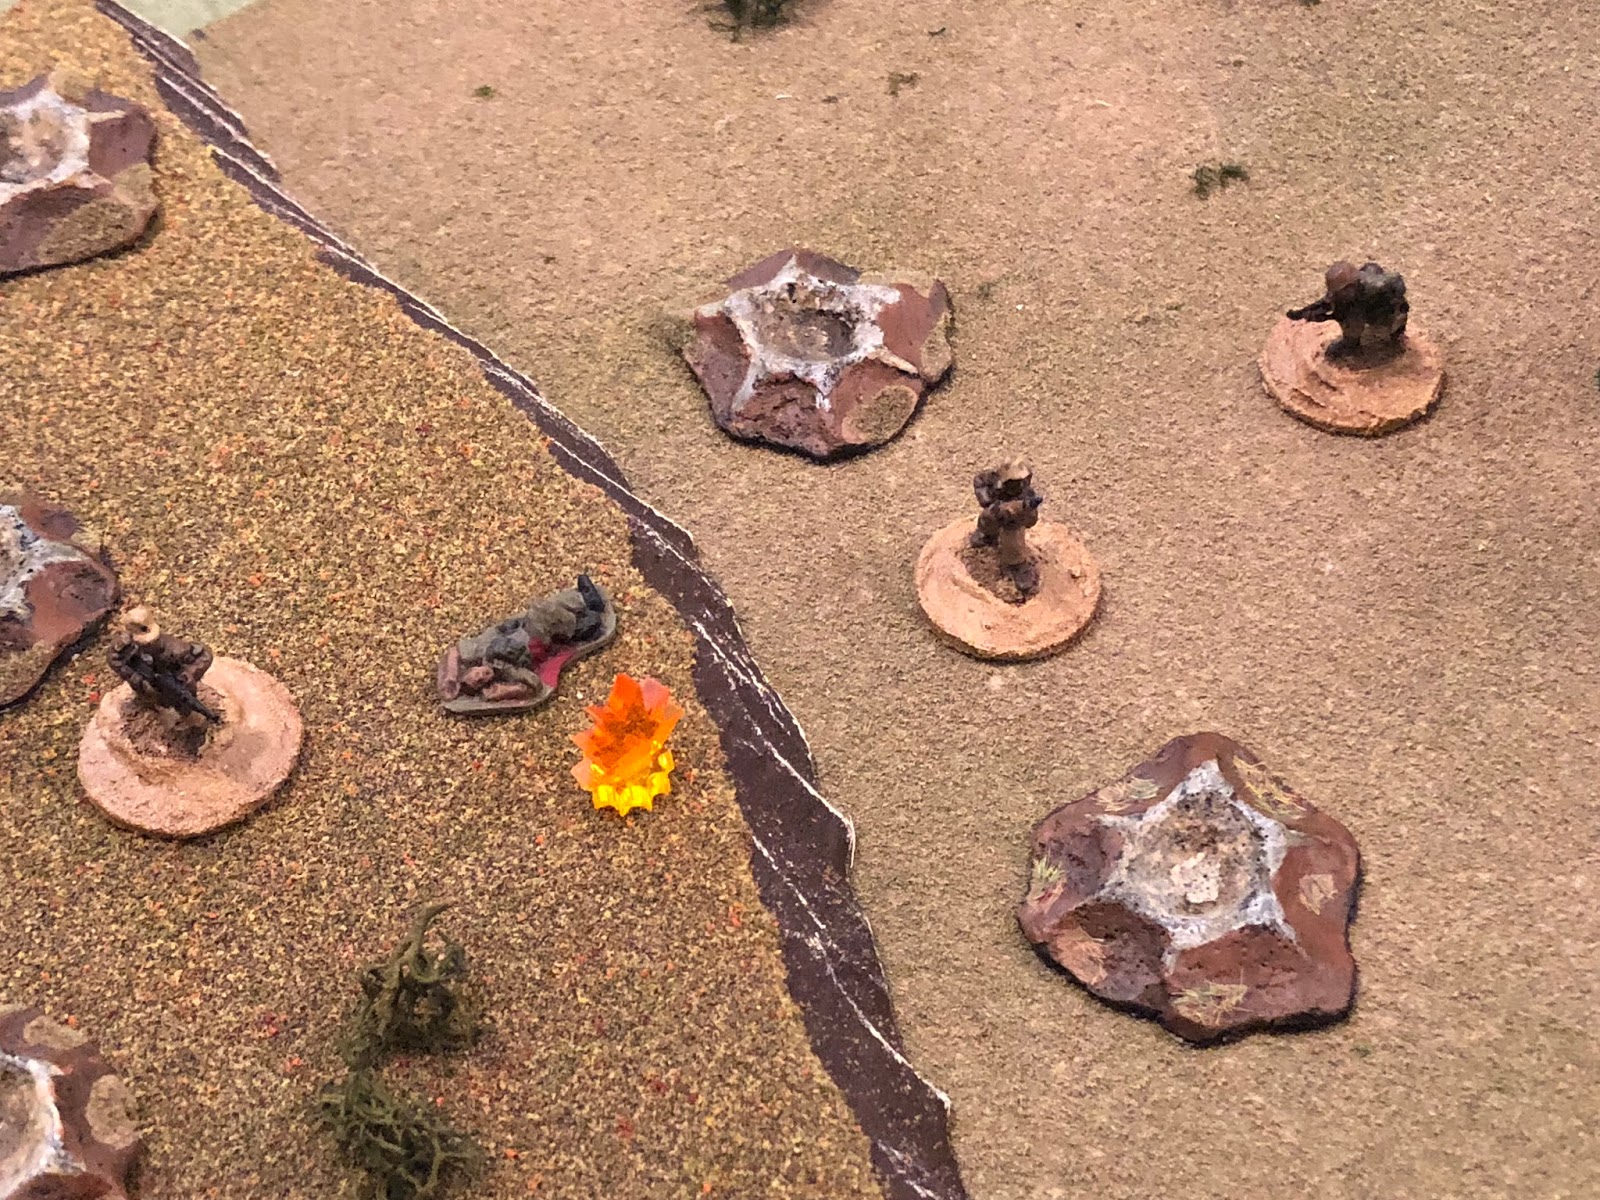
But this time he suppresses them (center, red bead)! With that, his boys leap out of the house and into close combat with my suppressed squad at bottom left.
The stoic Canadians put them out of the fight, then rush into melee with my MG team, supported by my PC and rifle squad! He knew the score: I was at -2 (-2 for crew serve, -2 for suppressed, +1 for PC and +1 for extra squad; I hope that's correct), while he was at even. My stout Germans annihilated the Canucks, against all odds.
He understands perfectly now about using the PC for group moves into close combat, racking up the bonuses. I do have a question though: my MG team was suppressed, but won the melee. Are they still suppressed, or is that removed?
My mortar (bottom left) fires on his PC and rifle squad at top center.
My MG team fires on his, fail, pass initiative.
His mortar at my rifle squad on the hill, nothing.
His MG at my MG, nothing.
My mortar at his rifle squad, pin.
My MG at the same target, nothing, pass.
His mortar at my rifle squad on the hill.
His MG at my MG, they get a suppression!
He decides to move his PC to my right (top right). My rifle squad (left) react fires.
Forgive me, I don't have it in my notes, don't remember why he was moving his PC right.
And pins him (top right). Holy @#$%, I screwed up!!! I only pinned his PC, but I took initiative! I fire my mortar on his rifle squad at center top, pinning them.
We've been going at this awhile, lotta repetition, he's getting tired and I'm getting aggravated, so I charge. My PC leads a rifle squad down the hill, into close combat. His men react fire but miss.
The two sides clash, and we tie! So I fall the Germans back to where they started, on the hill. Not sure if I played that right, if that's what should have happened, or if they should be pinned or suppressed after falling back. Or, since they repulsed the Germans, if the Canadians should be pinned or not.
In any case, that's where we left it. I talked to him about setting up another game, and he said he wanted to, but I could tell he was worn out (we'd already played a game, the last fight in the Philippines), so we called it quits.
I was really hoping to play company-sized actions on a 2' x 2' table, but even with just a platoon and support per side it was feeling a bit cramped on a 3' x 2'. Not literally cramped, but it felt like if we had a company each we'd be able to create a contiguous defensive line across the whole damn board. So, you guys with experience, what do you think about unit density from the pictures. Do you think we could do attacker four platoons and support vs defender two platoons and support on this 3' x 2'? How did my terrain density look? And what are your thoughts on the stalemate? Aside from my admitted mistakes, were we doing anything else wrong?
Please, I'm all ears for some feedback, anything and everything, nothing is off limits. Unless you're just gonna make fun of my carpet hills and fields ;)
V/R,
Jack